6 Self-Rescue Techniques For Swimmers That Could Save a Life
Learn 6 vital self-rescue skills. From floating to conserve energy to controlling panic, these techniques can save a swimmer’s life in an emergency.
The perfect day on the water can turn in an instant—a sudden cramp, an unexpected current, or a boat that drifts just out of reach. In those moments, panic is your greatest enemy, but knowledge is your most powerful ally. Knowing how to handle yourself when things go wrong isn’t just for expert swimmers; it’s a fundamental skill for anyone who enjoys the water.
Disclosure: As an Amazon Associate, this site earns from qualifying purchases. Thank you!
Stay Calm: Your First Step in Self-Rescue
The single most important thing you can do when you find yourself in trouble in the water is control your breathing. Panic triggers a cascade of physiological responses—hyperventilation, a racing heart, and tense muscles—that burn precious oxygen and energy. This is the moment to pause, override your instincts, and take one slow, deliberate breath.
Think of it as rebooting your brain. Float on your back, get your face out of the water, and focus on the rhythm of inhale-exhale. This simple act breaks the panic cycle, allowing you to think clearly and assess your situation. Without this first step, every other technique becomes exponentially harder to execute.
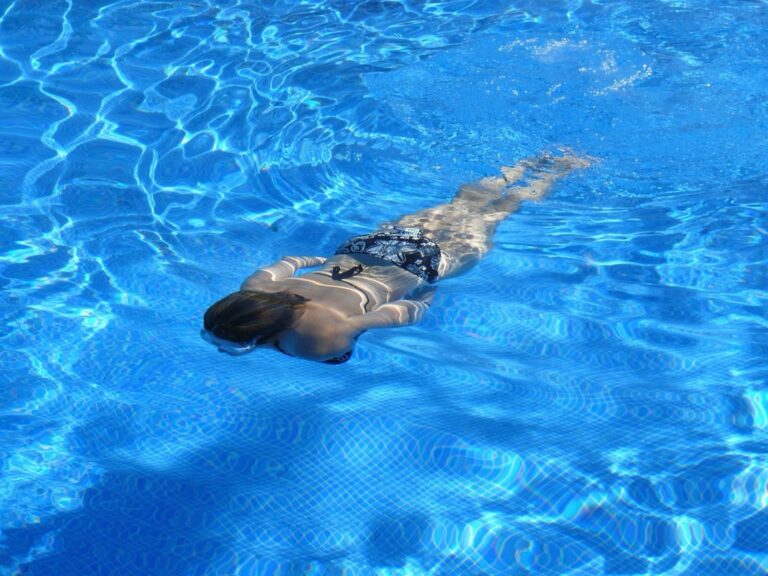
Master the Back Float to Conserve Energy
Your goal in any water survival situation is to expend as little energy as possible until you are safe. The back float is the ultimate energy-saving tool. It allows you to rest, breathe, and plan your next move without fighting to stay above the surface.
To achieve a stable back float, lie back and allow the water to support you. Arch your back slightly and keep your lungs full of air to increase buoyancy. Use gentle, slow sculling motions with your hands by your sides to maintain balance. Some people are naturally less buoyant, and that’s okay; a slow, relaxed flutter kick can help keep your legs from sinking. The key is minimal effort for maximum rest.
How to Safely Manage a Leg Cramp in Water
A sudden, seizing leg cramp can feel terrifying, but it’s entirely manageable. The worst thing you can do is thrash around in a panic, which will only exhaust you. Your first move should always be to flip onto your back into a float. This immediately secures your airway and gives you a stable position to work from.
Once floating, you can address the cramp directly. For a common calf cramp, reach down, grab the toes of the affected foot, and gently pull them toward your shin. Hold the stretch until you feel the muscle begin to release. It might take 30 seconds or more. Massage the muscle if you can, breathe deeply, and don’t try to swim hard until the cramp has fully subsided.
Escaping a Riptide: Swim Parallel to Shore
Riptides don’t pull you under the water; they pull you away from the shore in a fast-moving channel. The fatal mistake swimmers make is trying to fight the current by swimming directly back to the beach. This is like swimming upstream in a river—you’ll exhaust yourself and make no progress.
The correct and life-saving response is to relax and float to conserve energy. Then, begin swimming parallel to the shoreline. Don’t swim toward the beach, swim sideways across the current. Most riptides are relatively narrow, and a short swim will usually take you out of its pull and into calmer water where you can then swim back to shore at an angle.
If you are too tired to swim, simply float on your back and let the current carry you out past the breaking waves. Once the pull lessens, you can signal for help or begin swimming parallel to the shore. Never fight the rip.
Using Your Pants as an Improvised Life Vest
Stay safe on the water with this US Coast Guard-approved life jacket. Enjoy comfort and breathability with its open-sided design, adjustable buckles, and durable nylon shell.

This technique sounds like something from a movie, but it absolutely works and can be a lifesaver if you’re ever in the water fully clothed without a flotation device. The goal is to turn your trousers into a temporary air bladder. It takes practice, so don’t make a real emergency the first time you try it.
While floating on your back, carefully remove your pants. Tie the two leg-ends together with a secure overhand knot. Next, make sure the zipper and button are fastened. Holding the open waistband, whip the pants over your head, scooping air into them, and quickly push the waistband underwater to trap the air inside. You can then put your head through the opening between the legs and hold onto your makeshift float. It will need to be "re-inflated" every few minutes, but it provides crucial support.
Treading Water efficiently for Long Durations
Treading water isn’t about splashing frantically; it’s about staying afloat with calculated, efficient movements. Inefficient treading burns through energy in minutes, while proper technique can allow you to stay up for hours if necessary. The key is to stay vertical and use both your arms and legs.
Keep your body upright with your head out of the water. Your arms should be just under the surface, sweeping back and forth in a "sculling" motion, like you’re spreading peanut butter on toast. This provides constant upward lift. For your legs, the most efficient method is the "eggbeater kick" used by water polo players, but a simpler frog kick or scissor kick also works well. The goal is a steady, rhythmic motion that feels sustainable, not a desperate sprint.
The H.E.L.P. Position for Cold Water Survival
In cold water, hypothermia is an even greater threat than drowning. The Heat Escape Lessening Posture (H.E.L.P.) is designed specifically to conserve body heat for as long as possible. Water leaches heat from your body 25 times faster than air, so minimizing the surface area exposed to the cold is critical.
To perform the H.E.L.P. position, pull your knees up to your chest and wrap your arms around your shins, hugging yourself into a tight ball. This protects the areas of highest heat loss: your head/neck (which should be kept out of the water), the sides of your chest, and your groin. It’s not an active swimming position; it’s a waiting and survival posture. If you are in the water with others, huddle together in a group, chest-to-chest, to share warmth and provide a larger target for rescuers.
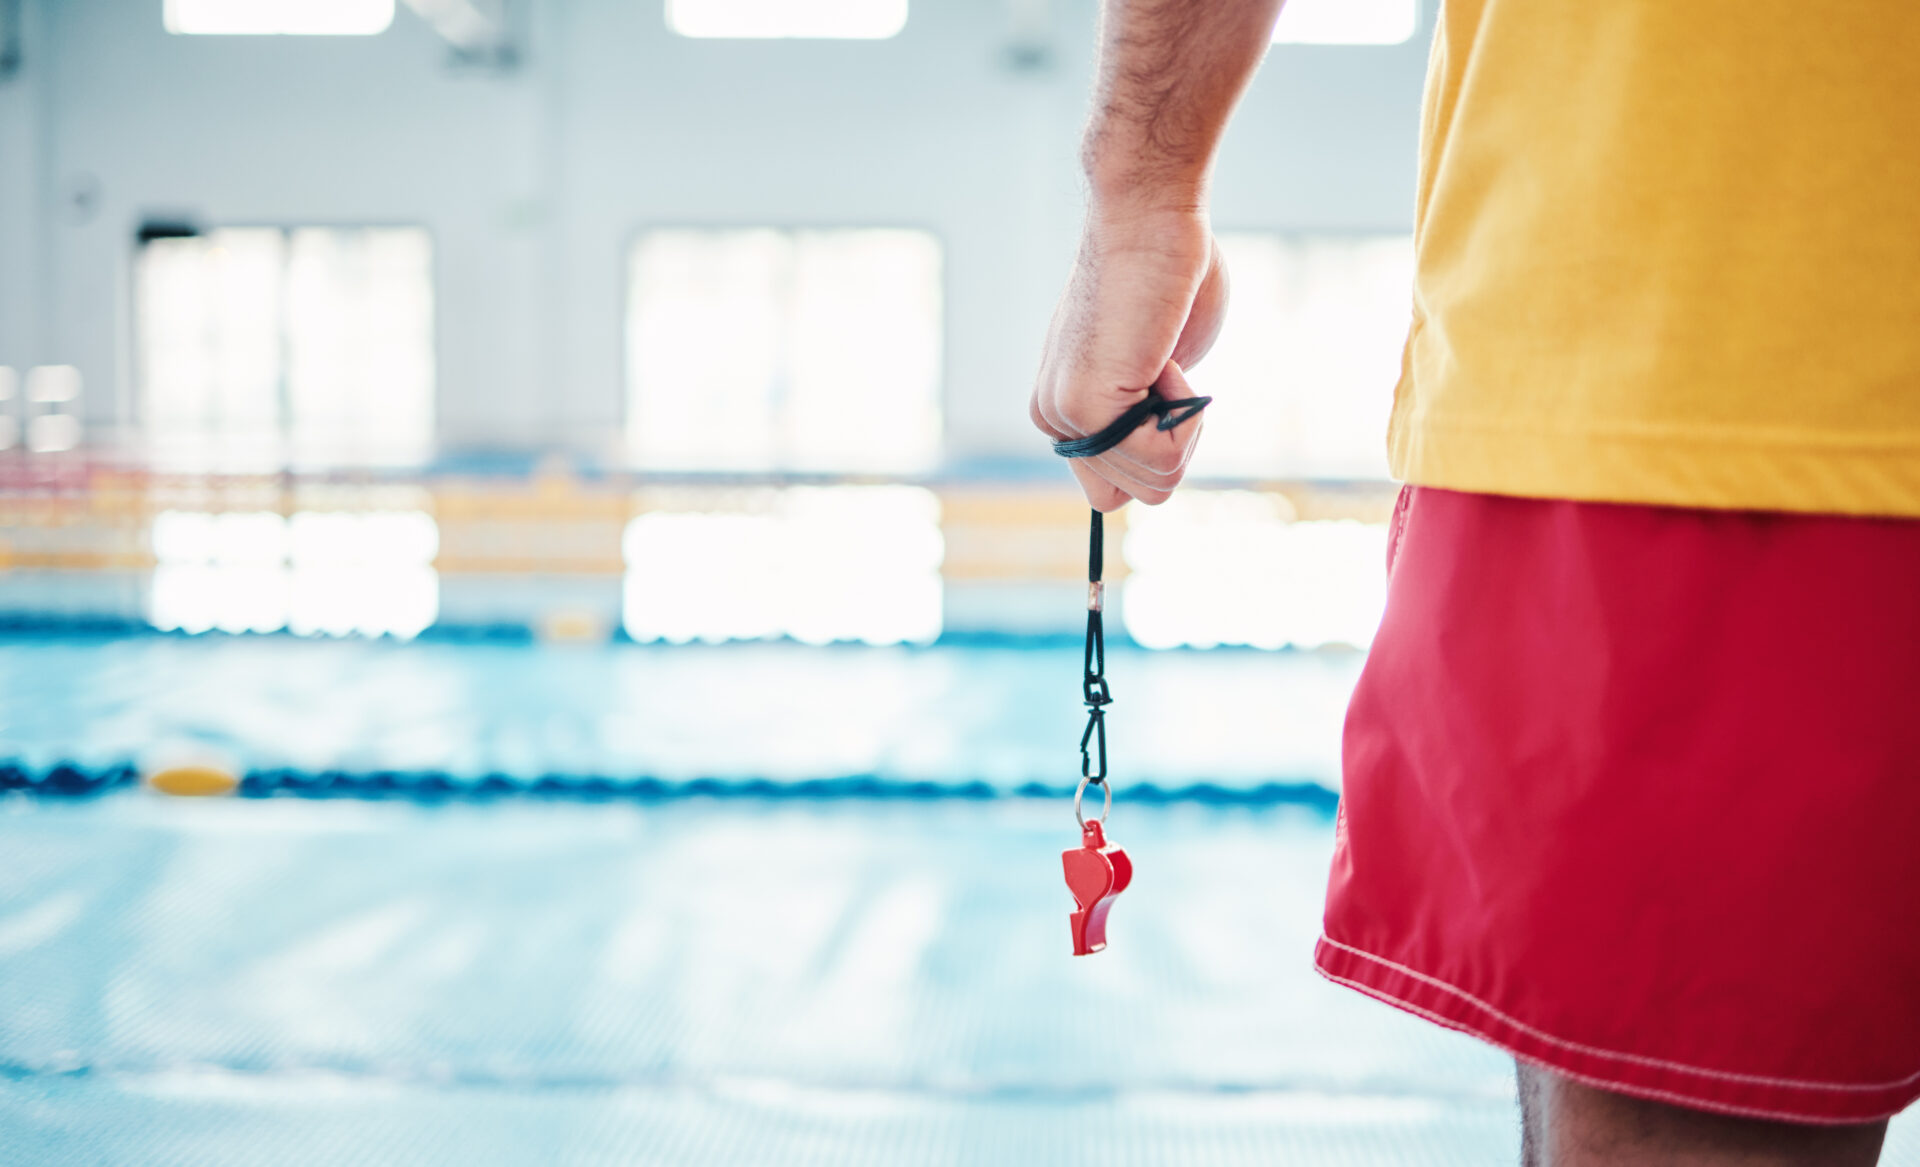
Signaling for Help When You Cannot Self-Rescue
Sometimes, the situation is beyond your ability to handle alone. Knowing how to effectively signal for help is a self-rescue technique in itself. The internationally recognized distress signal is waving one or both arms over your head. Avoid small, frantic splashes, which can be mistaken for play. Make big, deliberate movements.
Use your voice, but do it smartly. Instead of a constant scream that will leave you hoarse and exhausted, yell "Help!" in loud, short bursts. If you carry a whistle on your swimsuit or keychain (an excellent habit), use it. The sound of a whistle travels much farther over water than a human voice. Continue to conserve energy by floating or treading water efficiently between signaling attempts.
These techniques are your personal safety net, turning a moment of fear into a manageable problem. Practice them in a safe, supervised environment so they become second nature. Your best day on the water is one where you’re prepared for the worst.