7 DIY Beach Equipment Rack Ideas That Maximize Storage Space
Transform your beach gear chaos into organized bliss with 7 creative DIY rack ideas. From PVC pipes to wooden crates, discover budget-friendly storage solutions.
Why it matters: Your beach gear deserves better than cluttering your garage floor or getting tangled in storage bins.
The big picture: DIY beach equipment racks solve multiple problems â they organize your surfboards umbrellas and chairs while protecting expensive gear from damage and making everything easily accessible for your next coastal adventure.
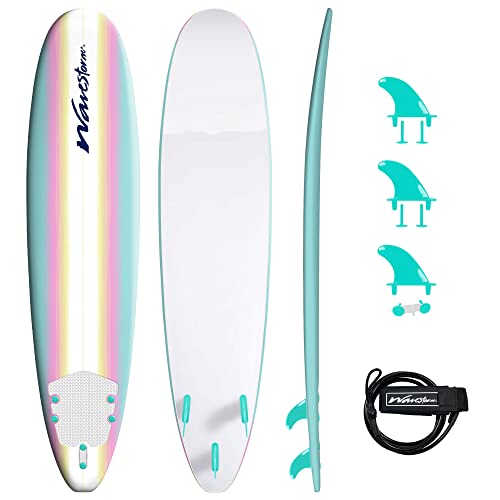
Learn to surf with the WAVESTORM 8ft surfboard! This complete set includes a soft foam board with a strong core, removable fins, leash, and traction pad for all skill levels.
What’s ahead: We’ll show you seven creative rack designs that transform any space into an organized beach gear haven using common materials and basic tools.
Disclosure: As an Amazon Associate, this site earns from qualifying purchases. Thank you!
Create a Simple PVC Pipe Beach Equipment Rack
PVC pipe racks offer the perfect balance of durability and affordability for beach gear storage. These lightweight structures can handle everything from surfboards to beach chairs while withstanding outdoor conditions.
Materials Needed for PVC Construction
You’ll need six 10-foot sections of 3-inch PVC pipe, twelve T-joints, eight elbow joints, and PVC cement. Add foam pool noodles for padding and zip ties for securing accessories. A hacksaw and measuring tape complete your tool requirements for this straightforward build.
Step-by-Step Assembly Instructions
Cut your PVC into measured lengths: four 6-foot vertical posts and eight 2-foot horizontal supports. Connect the base frame using T-joints, then attach vertical posts with elbow joints. Cement all connections and allow 24 hours to cure before adding foam padding to contact points.
Customization Options for Different Equipment
Adjust spacing between uprights to accommodate your specific gear dimensions. Install horizontal crossbars at varying heights for umbrellas, chairs, and boogie boards. Add PVC hooks for smaller items like snorkel gear, and consider wheels on the base for easy transport between storage and vehicle.
Build a Wooden Pallet Storage Solution
Wooden pallets offer beach equipment storage that’s both rustic and incredibly functional. You’ll create a durable rack that handles everything from wet suits to beach chairs while adding character to your storage space.
Selecting and Preparing Your Pallet
Choose heat-treated pallets marked “HT” rather than chemically treated ones for safety around your gear. Look for pallets with tight slat spacing and minimal damage from forklifts or weather exposure.
Sand rough edges thoroughly and fill any gaps with wood filler. Clean the entire surface with mild detergent to remove dirt and potential contaminants before assembly begins.
Adding Hooks and Compartments
Install heavy-duty screw hooks along the vertical slats for hanging towels, mesh bags, and lightweight accessories. Create compartments by adding horizontal dividers using reclaimed wood pieces cut to fit between existing slats.
Mount small mesh baskets or repurposed containers to hold sunscreen, toys, and other small items. Position these additions based on your specific gear collection and access patterns.
Weather-Proofing Your Wooden Rack
Apply marine-grade polyurethane or exterior wood stain to protect against moisture and UV damage. Focus extra attention on cut edges and joints where water typically penetrates first.
Add drainage holes at the bottom of any enclosed compartments to prevent water accumulation. Consider elevating the entire unit on concrete blocks to improve airflow and reduce ground moisture contact.
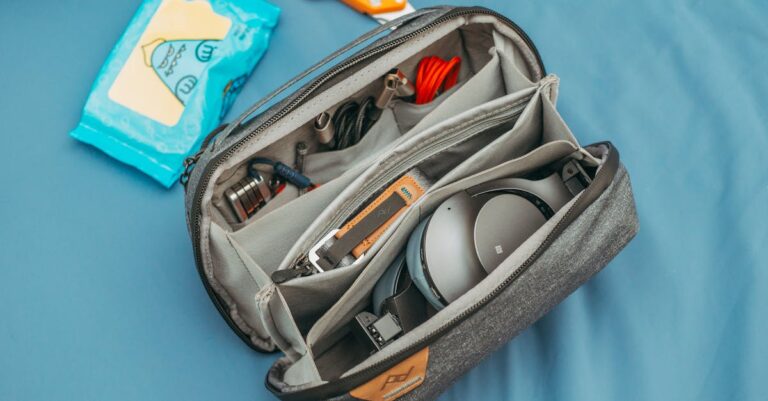
Construct a Portable Mesh Bag Organizer
Mesh bag organizers solve the problem of sandy, scattered beach gear while maintaining visibility and airflow. This lightweight solution keeps your beach essentials organized and easily transportable.
Choosing the Right Mesh Materials
Select marine-grade polyester mesh that resists saltwater corrosion and UV fading. Look for 1000-denier strength with reinforced seams to handle wet sand and heavy items like sunscreen bottles.
Avoid cheap nylon mesh that tears easily under beach conditions. Heavy-duty vinyl-coated mesh provides extra durability for items with sharp edges like beach umbrellas and folding chairs.
Creating Multiple Storage Compartments
Design compartments based on your gear sizes using horizontal divider strips sewn into the main bag. Create one large section for towels and a medium section for toys and games.
Add smaller zippered pockets along the sides for valuables like keys and phones. Each compartment should accommodate specific beach items while allowing sand to filter through the mesh material.
Adding Handles for Easy Transport
Install reinforced carry handles using 2-inch webbing straps sewn through multiple layers of mesh. Position handles 18 inches apart to distribute weight evenly across your shoulders.
Add a detachable shoulder strap with padding for heavier loads. Heavy-duty carabiners on the handle attachment points let you quickly convert between carry modes depending on your gear volume.
Design a Wall-Mounted Garage Storage System
Your garage walls offer the most versatile space for creating a comprehensive beach equipment storage system. This vertical approach maximizes floor space while keeping your gear organized and easily accessible.
Planning Your Wall Space Layout
Map your wall dimensions before purchasing any materials. Measure the available wall height and width, noting any obstacles like electrical outlets, windows, or garage door tracks that could interfere with your rack placement.
Group similar equipment together when sketching your layout. Place frequently used items like beach chairs and umbrellas at shoulder height, while seasonal gear like boogie boards can go higher up the wall.
Installing Brackets and Support Hardware
Use heavy-duty wall anchors rated for at least 50 pounds per bracket. Locate wall studs with a stud finder and mark their positions, as these provide the strongest mounting points for your heaviest beach equipment.
Install brackets at varying heights to accommodate different gear sizes. Space horizontal supports 16-24 inches apart to prevent sagging under the weight of wet beach chairs and umbrellas.
Organizing Equipment by Category
Create dedicated zones for each type of beach gear. Install curved hooks for hanging beach chairs, while straight brackets work better for surfboards and boogie boards standing vertically against the wall.
Use mesh bags hung from lower hooks to corral smaller items like beach toys and sunscreen. This category system ensures you’ll never waste time searching for specific equipment before heading to the beach.
Assemble a Rolling Cart for Beach Gear
A rolling cart transforms your beach gear organization by combining mobility with multi-level storage. You’ll create a portable solution that moves effortlessly from garage to car to sand.
Building the Cart Base Structure
Start with a sturdy rectangular frame using 1-inch square steel tubing or aluminum for rust resistance. Weld or bolt the corners at 24×18 inches for optimal stability without being too bulky. Reinforce the base with cross-braces to handle heavy, wet equipment loads.
Adding Wheels and Mobility Features
Choose solid rubber wheels at least 8 inches in diameter to roll smoothly over sand and pavement. Install swivel casters on the front for easy steering and fixed wheels on the back for straight-line stability. Add a telescoping handle that locks at your comfortable pulling height.
Creating Adjustable Storage Levels
Install removable shelves using slotted angle brackets spaced every 4 inches vertically. Use perforated metal or mesh shelving to allow sand and water drainage while supporting gear weight. Create dedicated slots for surfboards and umbrellas using vertical dividers that adjust to accommodate different equipment sizes.
Craft a Repurposed Ladder Equipment Display
An old wooden ladder transforms into a versatile beach equipment rack that maximizes vertical storage while adding rustic charm to your gear organization system.
Finding and Preparing an Old Ladder
Scout estate sales and thrift stores for sturdy wooden ladders with rungs spaced 12-18 inches apart. You’ll want solid hardwood construction that can handle saltwater exposure and heavy gear loads.
Sand rough edges thoroughly and check for loose joints or cracked rungs. Apply wood preservative to prevent rot and seal the surface with marine-grade varnish for long-lasting outdoor durability.
Converting Rungs into Storage Hooks
Install heavy-duty screw hooks directly into each rung to create hanging points for beach chairs and umbrellas. Space hooks 6 inches apart to prevent gear from tangling together.
Wrap pool noodles around lower rungs to create padded cradles for surfboards and boogie boards. Secure with zip ties at both ends to prevent slipping during windy conditions.
Stabilizing for Outdoor Use
Anchor your ladder rack by securing the base to concrete blocks or driving stakes through the bottom rails into packed sand. This prevents tipping when loaded with wet equipment.
Add triangular wooden braces between the ladder legs and ground for extra stability. Weight distribution becomes critical when storing multiple heavy items like coolers and beach wagons simultaneously.
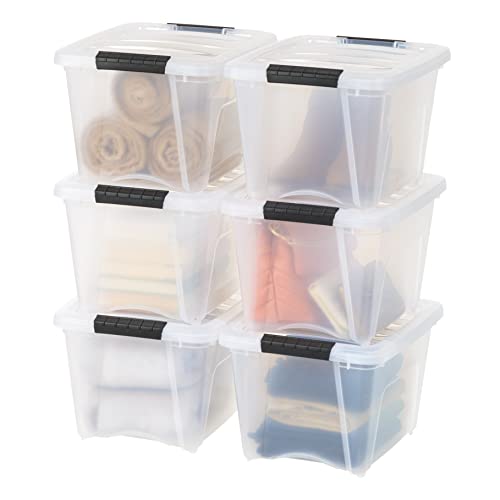
Make a Stackable Crate Organization System
Wooden crates offer unmatched flexibility for beach gear storage. You’ll build a modular system that adapts to your changing equipment needs while maintaining professional organization.
Selecting Appropriate Wooden Crates
Choose sturdy fruit crates or wine boxes with reinforced corners for maximum durability. Look for crates measuring 18x12x10 inches – they’re perfect for beach umbrellas, chairs, and boogie boards. Avoid flimsy decorative crates that’ll collapse under wet gear weight.
Connecting Crates for Stability
Secure crates using wood screws through adjoining sides rather than relying on weight alone. Install L-brackets at connection points for rock-solid stability when loading heavy items like coolers. This prevents dangerous tipping when you’re grabbing gear quickly.
Labeling and Categorizing Storage Areas
Create weatherproof labels using vinyl lettering or laminated cardstock for each crate section. Designate specific areas: “Swim Gear,” “Sun Protection,” and “Beach Toys” to maintain organization. Clear categories eliminate frantic searching when you’re eager to hit the water.
Conclusion
Creating your own beach equipment rack doesn’t require professional carpentry skills or expensive materials. With these seven DIY solutions you can transform any cluttered space into an organized beach gear station that protects your investment and saves time.
Whether you choose the budget-friendly PVC design or the versatile stackable crate system each option offers unique benefits to match your specific needs and available space. The key is selecting materials that can withstand outdoor conditions while providing easy access to your gear.
Start with one design that appeals to you most and expand your storage system as your beach equipment collection grows. Your future self will thank you when everything has its place and you’re ready for spontaneous beach adventures.
Frequently Asked Questions
What materials do I need to build a PVC pipe beach equipment rack?
You’ll need PVC pipes, elbow joints, T-joints, PVC cement, and basic tools like a saw and measuring tape. The lightweight PVC material is affordable, durable, and perfect for outdoor conditions. You can customize the size based on your gear and available space.
How do I prepare wooden pallets for outdoor beach gear storage?
Select heat-treated pallets and sand them smooth to remove splinters. Apply weather-resistant stain or sealant to protect against moisture and UV damage. Add heavy-duty screw hooks for hanging gear and create compartments for smaller items using additional wood pieces.
What makes a mesh bag organizer effective for beach gear?
Mesh bags provide excellent visibility of stored items while allowing airflow to prevent mold and mildew. Choose durable, UV-resistant materials and include handles or straps for easy transport. The breathable design helps sandy gear dry quickly after beach trips.
How do I install a wall-mounted garage storage system for beach equipment?
Locate wall studs and use heavy-duty brackets rated for your gear’s weight. Install horizontal rails or pegboard systems at varying heights. Create dedicated zones for different equipment types like surfboards, chairs, and umbrellas to maximize vertical space efficiently.
What features should I include in a rolling beach gear cart?
Build a sturdy frame with locking wheels for stability and mobility. Include multiple levels or compartments for different items. Add weatherproof materials and secure straps to prevent gear from falling during transport. Consider a fold-down handle for compact storage.
How can I repurpose an old wooden ladder for beach gear storage?
Sand and treat the ladder with weatherproof finish. Install heavy-duty screw hooks on the rungs for hanging equipment. Add pool noodle padding to protect surfboards from scratches. Secure the base with sandbags or ground anchors for outdoor stability.
What’s the best way to create a stackable crate organization system?
Use sturdy wooden crates and connect them with brackets or screws for stability. Label each section clearly for different gear categories. This modular system adapts to changing equipment needs while maintaining organization. Ensure crates can handle the weight of your heaviest items.