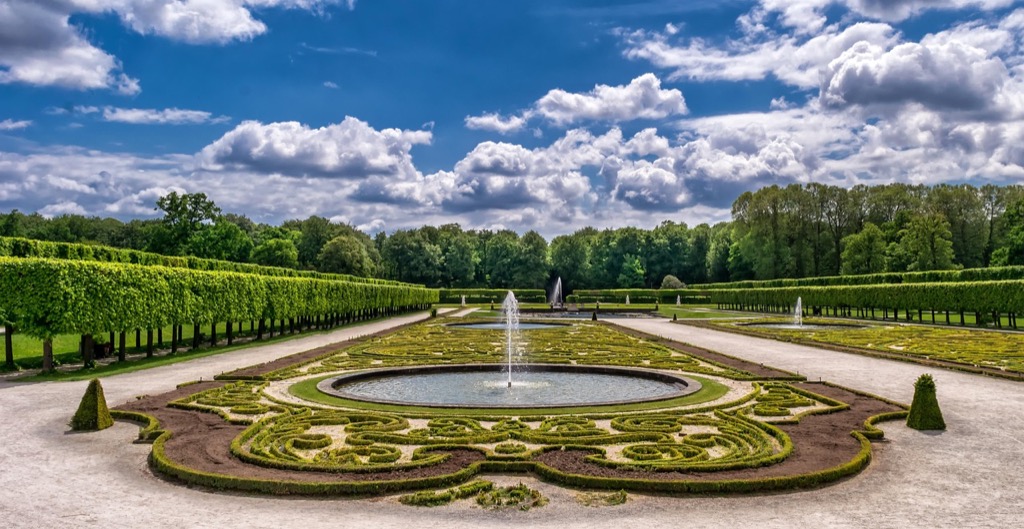
8 How to Build a DIY Backyard Water Feature Steps That Save Money
Transform your backyard into a peaceful oasis with this complete DIY water feature guide. Learn planning, installation, and maintenance tips for stunning results on any budget.
The big picture: You can transform your backyard into a tranquil oasis without breaking the bank by building your own water feature from scratch.
Why it matters: A DIY water feature adds instant curb appeal to your property while creating a peaceful soundscape that drowns out neighborhood noise and attracts beneficial wildlife to your outdoor space.
What you’ll learn: We’ll walk you through the essential steps to design and construct a stunning water feature that’ll become the centerpiece of your backyard retreat.
Disclosure: As an Amazon Associate, this site earns from qualifying purchases. Thank you!
Choose the Right Type of Water Feature for Your Space
Selecting the perfect water feature transforms your backyard dreams into reality, but the wrong choice can quickly become a maintenance nightmare or budget disaster.
Assess Your Backyard Size and Layout
Small spaces work best with compact fountains or wall-mounted features that don’t overwhelm your landscape. Larger yards can accommodate ponds, multi-tiered fountains, or stream systems that create dramatic focal points. Consider existing trees, slopes, and foot traffic patterns when positioning your feature to maximize both visual impact and practical accessibility.
This solar fountain pump instantly adds beauty to your bird bath, pond, or garden. It operates automatically in direct sunlight with 6 different spray patterns, creating an attractive water display.

Consider Your Budget and Skill Level
Simple fountain kits cost $50-200 and require basic assembly skills, while custom pond installations can exceed $2,000 with complex plumbing requirements. Match your project complexity to your DIY experience – beginners should start with self-contained units before tackling in-ground installations. Factor in ongoing costs like electricity, water treatments, and seasonal maintenance when setting your initial budget.
Evaluate Maintenance Requirements
Container fountains need weekly water checks and monthly cleaning cycles to prevent algae buildup and pump clogs. Pond systems require more intensive care including seasonal plant trimming, fish feeding schedules, and winter preparation procedures. Choose features with accessible pumps and filtration systems to simplify routine maintenance tasks and reduce long-term frustration.
Plan Your Water Feature Design and Location
Once you’ve selected your ideal water feature type, proper planning becomes the foundation for long-term success and enjoyment.
Select the Perfect Spot in Your Yard
Choose a location where you’ll hear and see your water feature from key areas like patios or windows. Avoid low-lying spots that collect rainwater, as these create drainage issues. Position your feature away from large trees to minimize leaf debris and root interference that can damage pumps and liners.
Check for Underground Utilities
Call 811 at least three days before digging to mark underground utilities for free. This prevents dangerous encounters with gas lines, electrical cables, or water pipes during excavation. Most water features require electrical connections, so verify power line locations and consider proximity to existing outdoor outlets to minimize installation costs.
Design for Proper Drainage and Access
Plan drainage slopes away from your home’s foundation and toward natural water flow patterns. Install a dedicated electrical circuit with GFCI protection within 6 feet of your feature location. Design pathways that allow easy access for pump maintenance and seasonal cleaning without trampling landscaping or creating muddy walkways.
Get GFCI protection anywhere with this 2-foot, 12/3 gauge in-line cord set. It features a lighted tri-source receptacle and manual reset for safe indoor/outdoor use with power tools and more.

Gather Essential Tools and Materials
You’ll need the right tools and materials before starting your DIY water feature project. Having everything ready saves time and prevents frustrating trips to the hardware store mid-construction.
Basic Construction Tools You’ll Need
Excavation tools like a shovel, spade, and mattock help you dig the foundation and prepare the ground. Measuring equipment including a tape measure, level, and spray paint marks your layout accurately. Hand tools such as a drill, screwdriver set, and adjustable wrench handle assembly tasks and hardware installation.
Water Feature Components and Hardware
Water circulation components include a submersible pump rated for your feature size, flexible tubing, and waterproof electrical connections. Structural materials like pond liner, underlayment fabric, and decorative stones create the water containment system. Plumbing hardware such as pipe fittings, clamps, and shut-off valves ensure proper water flow control.
The Aquastrong 1 HP Sump Pump quickly removes water from flooded areas, draining up to 4500 GPH. Its portable design filters debris and pumps water down to 1/5 inch, while the thermoplastic casing ensures durability.

Safety Equipment and Protective Gear
Personal protective equipment includes work gloves, safety glasses, and steel-toed boots to prevent cuts and injuries during construction. Electrical safety gear like a GFCI outlet tester and waterproof wire nuts protects against shock hazards near water. First aid supplies and a fully charged phone provide emergency backup when working with power tools and heavy materials.
Stay cool and connected on the job with HANDLANDY work gloves. Featuring touchscreen fingertips and padded palms and knuckles, these flexible gloves provide comfort and protection for light-duty tasks.

Prepare the Installation Site
You’ll need to transform your chosen location into a stable foundation that’ll support your water feature for years to come. Proper site preparation prevents costly repairs and ensures your DIY project looks professional.
Mark and Measure Your Area
Mark your water feature’s footprint using spray paint or rope to visualize the exact dimensions. Measure twice and add 6 inches around the perimeter for working space during installation. Double-check measurements against your design plans before proceeding to excavation.
Excavate the Foundation
Dig your foundation 2-4 inches deeper than your liner specifications to accommodate the base layer. Remove all rocks, roots, and debris that could puncture your liner or create uneven surfaces. Call 811 before digging to locate underground utilities and avoid dangerous encounters.
Level the Ground and Create Proper Base
Check your excavated area with a spirit level and adjust high spots with a shovel. Spread 2 inches of sand or fine gravel as your base layer for cushioning and drainage. Compact the base material firmly using a hand tamper to prevent future settling.
Install the Water Circulation System
With your foundation ready, you’ll now install the heart of your water feature – the circulation system that keeps water flowing smoothly.
Set Up the Pump and Filtration
Position your submersible pump at the lowest point of your water feature to ensure optimal water flow. Connect the pump to your chosen filtration system, whether it’s a simple pre-filter sponge or a more advanced biological filter setup. Test the pump’s operation before proceeding to verify proper suction and flow rates.
Run Electrical Connections Safely
Install a dedicated GFCI-protected circuit for your water feature’s electrical needs. Use outdoor-rated electrical conduit to protect wiring from moisture and physical damage. Connect all electrical components according to manufacturer specifications, and consider hiring a licensed electrician if you’re uncomfortable with electrical work.
Install Plumbing and Water Lines
Run flexible tubing from your pump to the water feature’s outlet point, securing it with appropriate clamps and brackets. Use PVC fittings and connectors rated for outdoor use to ensure leak-proof connections. Test your entire plumbing system for leaks before adding decorative elements or filling with water.
Build the Structure and Framework
With your water circulation system in place, you’ll start constructing the physical elements that transform your excavated space into a beautiful water feature.
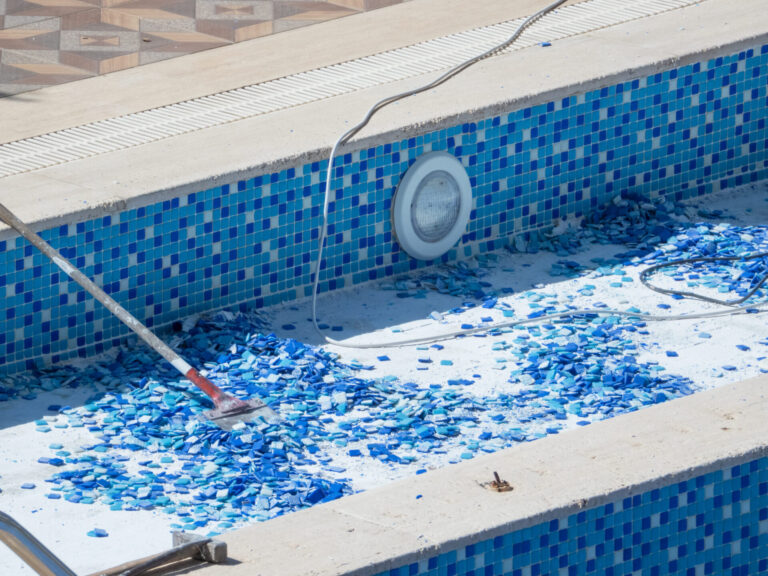
Construct the Basin or Pond Liner
Create a beautiful and lasting water feature with this durable 20 mil HDPE pond liner. It's fish and plant safe, puncture resistant, and easy to install in ponds up to 500 gallons.

Install your pond liner carefully to create a watertight basin for your DIY backyard water feature. Spread the flexible rubber or PVC liner across your excavated area, allowing 6-12 inches of overlap on all sides. Smooth out wrinkles and folds as you work, then secure the edges with stones or landscape staples. Test the liner’s integrity by filling it partially with water and checking for leaks before proceeding.
Create Rock Formations and Borders
Position larger rocks first to establish the main structure of your water feature borders. Place flat stones around the liner’s perimeter to hide edges and create natural-looking boundaries. Stack smaller rocks to build waterfalls or cascading elements, using waterproof construction adhesive between layers. Leave gaps between rocks for water flow and ensure all formations slope toward your pump location for proper drainage.
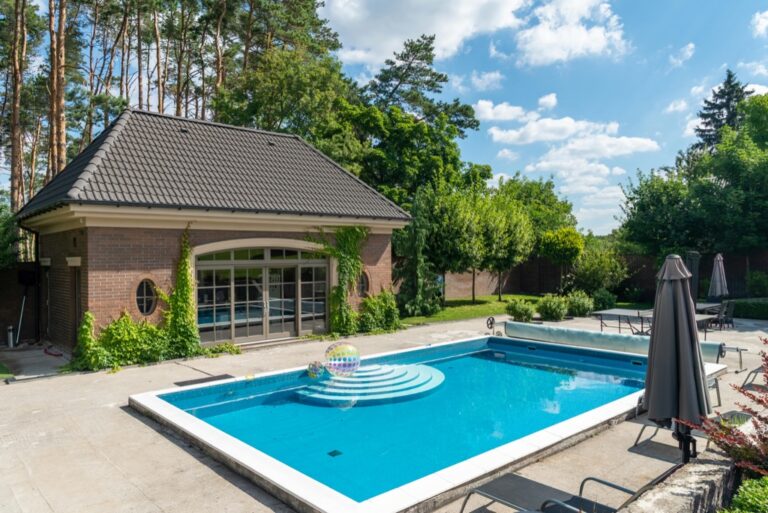
Add Decorative Elements and Features
Incorporate aquatic plants and lighting to enhance your backyard water feature’s visual appeal and functionality. Place potted water lilies or cattails in shallow areas, and install low-voltage LED lights behind waterfalls or under rock formations. Add decorative elements like driftwood, ceramic ornaments, or stepping stones to personalize your design. Position these features strategically to complement water flow patterns and create focal points throughout your outdoor space.
Test and Fill Your Water Feature
You’re ready to bring your DIY water feature to life. This critical phase determines whether your construction efforts will create the peaceful backyard oasis you’ve envisioned.
Check All Connections for Leaks
Inspect every joint and fitting before adding water. Run your hands along all plumbing connections, checking for loose fittings or damaged seals. Look for gaps in your liner installation and ensure electrical connections remain completely dry. Test each pump connection by gently tugging on tubes and fittings.
Fill with Water and Test Flow
Add water slowly while monitoring the circulation system. Fill your feature halfway first, then activate the pump to check water movement. Watch for proper flow patterns and listen for unusual noises from the pump. Adjust rock placement if water doesn’t flow as expected, creating natural channels for optimal circulation.
Adjust Water Levels and Pressure
Fine-tune your system for optimal performance. Add or remove water to achieve your desired flow rate and sound level. Most pumps include flow control valves that let you adjust pressure without changing water levels. Test different settings to find the perfect balance between gentle trickling and robust cascading sounds.
Add Finishing Touches and Landscaping
Transform your functional water feature into a stunning focal point with strategic finishing touches. These final elements create the seamless integration between your DIY water feature and the surrounding landscape.
Install Lighting for Nighttime Appeal
Lighting transforms your water feature into an enchanting nighttime centerpiece that extends your outdoor enjoyment. Submersible LED lights create dramatic underwater effects while spotlights highlight waterfalls and rock formations from strategic angles.
Install low-voltage lighting systems with timers for energy efficiency and convenience. Position lights to avoid glare and focus on water movement rather than direct illumination of the water surface.
Plant Aquatic and Surrounding Vegetation
Aquatic plants naturally filter water while creating a lush ecosystem around your feature. Water lilies and lotus plants provide surface coverage and reduce algae growth in larger installations.
Surround the feature with moisture-loving plants like hostas, ferns, and ornamental grasses that thrive in the increased humidity. Choose plants with varying heights and textures to create natural-looking transitions from water to landscape.
Create Pathways and Seating Areas
Strategic pathways guide visitors to optimal viewing and listening positions while protecting surrounding plantings from foot traffic. Use natural materials like flagstone or gravel that complement your water feature’s aesthetic.
Position seating areas 6-8 feet from the water’s edge to capture the soothing sounds without overwhelming noise. Built-in stone benches or strategically placed outdoor furniture create intimate spaces for relaxation and contemplation.
Maintain Your DIY Water Feature
Your water feature’s longevity depends on consistent maintenance that prevents costly repairs and keeps the water crystal clear. Establishing proper care routines from day one ensures your backyard centerpiece continues creating that peaceful atmosphere you worked so hard to achieve.
Establish Regular Cleaning Schedule
Clean your water feature weekly to prevent algae buildup and debris accumulation that can clog your pump system. Remove fallen leaves, twigs, and organic matter from the water surface and basin using a fine mesh net.
Scrub rocks and decorative elements monthly with an algae brush to maintain their natural appearance. Test your pump’s performance during each cleaning session to catch potential issues before they become expensive problems.
Monitor Water Quality and Chemistry
Test water pH levels bi-weekly using digital test strips, maintaining a range between 6.5-8.5 for optimal clarity and equipment protection. Add beneficial bacteria treatments monthly to break down organic waste naturally.
Check water levels daily during hot weather when evaporation accelerates, topping off with dechlorinated water as needed. Replace 10-15% of total water volume monthly to prevent mineral buildup and maintain fresh circulation.
Perform Seasonal Maintenance Tasks
Winterize your feature before the first freeze by draining water lines and removing pumps to prevent freeze damage in cold climates. Clean and store electrical components in a dry location until spring activation.
Spring maintenance includes thorough system inspection, fresh water refill, and pump reinstallation with new tubing if needed. Summer requires increased algae monitoring and potential shade installation, while fall demands aggressive leaf removal and pre-winter preparation.
Conclusion
You’ve now got all the knowledge needed to transform your backyard into a peaceful retreat with your own DIY water feature. With proper planning design choices and the right materials you can create something truly special without breaking the bank.
Remember that success lies in taking your time during each phase especially when installing the pump system and testing for leaks. Your attention to detail during construction will pay off with years of reliable operation and minimal maintenance headaches.
The most rewarding part comes when you finally hear that gentle sound of flowing water in your outdoor space. You’ll have created more than just a water feature â you’ve built a sanctuary that’ll provide relaxation and beauty for countless seasons ahead.
Frequently Asked Questions
What are the main benefits of adding a water feature to my backyard?
A DIY water feature enhances your outdoor space by improving curb appeal, creating a calming sound environment, and attracting wildlife like birds and butterflies. It serves as a stunning focal point that transforms your backyard into a peaceful retreat while potentially increasing your property value.
How do I choose the right size water feature for my space?
Consider your backyard’s dimensions and layout. Small spaces work best with compact fountains or wall-mounted features, while larger yards can accommodate elaborate installations like ponds or multi-tiered fountains. Always ensure the feature is proportional to your available space and doesn’t overwhelm the area.
What’s the typical budget range for a DIY water feature?
DIY water features can range from $200-$500 for simple fountain kits to $1,000-$3,000 for more elaborate custom installations. Your budget will depend on size, complexity, materials chosen, and whether you need professional help with electrical work or excavation.
Where should I locate my water feature in the yard?
Choose a spot visible from key areas like patios or windows where you can enjoy the sight and sound. Avoid low-lying areas that collect rainwater and ensure good drainage. Always call 811 before digging to locate underground utilities and plan for easy access to electrical connections.
What tools and materials do I need for a DIY water feature?
Essential tools include shovels, levels, measuring tape, and basic construction equipment. Materials needed are a submersible pump, pond liner, flexible tubing, rocks or decorative stones, and electrical components with GFCI protection. Safety equipment like gloves and eye protection are also crucial.
How do I install the water circulation system?
Position the submersible pump at the lowest point of your feature and connect it to a filtration system. Run electrical connections using outdoor-rated conduit with GFCI protection. Use flexible tubing with leak-proof fittings and test the entire system for proper operation before adding decorative elements.
What maintenance does a water feature require?
Regular maintenance includes weekly cleaning to prevent algae buildup, monitoring water quality, and checking pump operation. Seasonal tasks involve winterizing the feature, spring inspections, and summer algae management. Consistent care ensures your water feature remains beautiful and functional year-round.
Can I add lighting to my water feature?
Yes, low-voltage lighting systems can enhance nighttime appeal and create dramatic effects. Position lights strategically to highlight water movement and avoid glare. Use waterproof fixtures designed for outdoor use and consider LED options for energy efficiency and longevity.
What plants work best around water features?
Choose aquatic plants like water lilies for in-water placement and moisture-loving perennials for surrounding areas. These plants create a lush ecosystem, improve water quality, and attract beneficial wildlife. Select plants appropriate for your climate zone and water feature type.
How long does it take to build a DIY water feature?
Construction time varies by complexity, typically ranging from one weekend for simple fountain kits to several weeks for elaborate pond systems. Factors affecting timeline include excavation requirements, electrical work, and weather conditions. Plan for additional time if you’re learning new skills.